Picture
Spring Training each year has come about the same time as my units involving measures of central tendency, so I pull data from Team Marketing Report about the FCI (Fan Cost Index) in Major League Baseball.  This data also incorporates lessons on percent change (Example: "The Kansas City Royals' average ticket price increased 15.2% to $21.84" but makes no mention of the previous years' ticket average.)

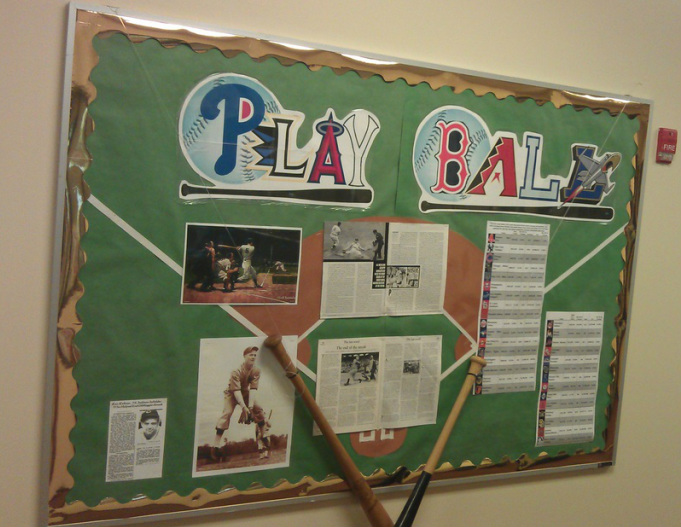
The headline "PLAY BALL" is made up of entirely of baseball logos' unique looks (the Excel file is available HERE).  This is one of the first things I tried printing with my knowledge of large-format printing using Microsoft Excel (archived blog post about it here). I laminated it once I had assembled all the pieces of the headline and it has held up great.

Picture
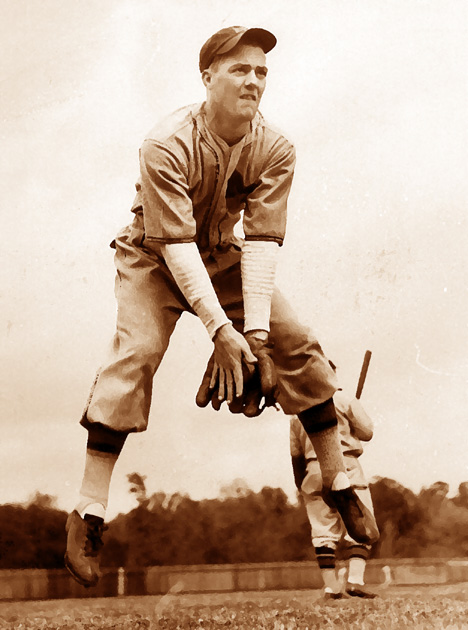
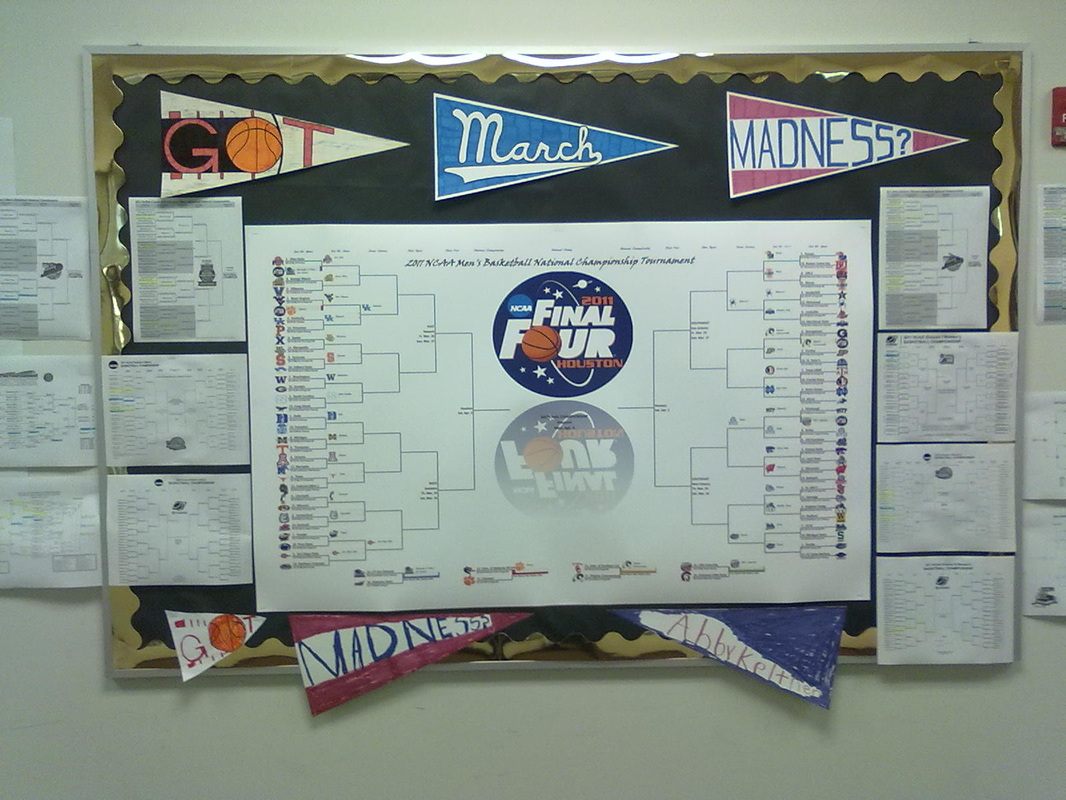
I enjoy indulging in a mini-museum of sorts outside my classroom windows on this bulletin board, complete with a mock-up of a baseball field with chalk lines (actually made from 2-inch athletic tape ripped into thinner strips), and an homage to Ken Keltner who used to play for the Cleveland Indians (most well known for his two backhand stops at third base to end Joe DiMaggio's 56-game hitting streak) and Boston Red Sox and is the namesake of my godfather, but no actual relation of mine.


Picture
I also have antique and modern versions of mitts and catcher's masks that I display with this bulletin board, but were taken down prior to this photo being taken.  Note the crossed bats at the bottom of the board, one antique (actually a Ken Keltner model I found on eBay a few years back) and a modern Mizuno bat.

In NINE years of posting this bulletin board, each year updating the FCI data based on the latest ticket prices and expansion teams, I have never had issues with students messing with any of the items hanging from the board.  I chalk it up to no one wanting to be "that guy" who ruins the displays I post outside my classroom.

Hope you enjoy taking a look at this project.  I'll soon be posting the "PLAY BALL" headline file, for your use if you so choose. Enjoy and play ball.

--Keltner--  

 
Picture
Three school years ago, I set out to exchange our math department's supply of TI-86 calculators for a stash of TI-84 Silver Edition calculators. Bear with me here, because I realize there are a plethora of different technology tools we could have implemented, but given what we had on hand, I used what I had to work with.

The net effect: We traded away a supply of calculators that were 10+ years old for a collection of newer models, capable of better upgrades (not to mention compatibility with USB-mini cables), the status quo for college math courses all at NO expense to our district.  That's right. No shipping (either direction--to the distributor or returning our new units back to us) and no money thrown in to sweeten the deal for either party.  The units we received back were used with professional development sessions for Texas Instruments and cycled out of use, for reasons I can most easily explain as "they were getting up there in mileage" like trading a car off for the next year's model despite no cosmetic or design changes or improvements.

Now, where this project picks up: how to store a classroom's worth of graphing calculators conveniently so students can find their assigned unit quickly and easily.

The one I have actually came from Target on sale for less than $10 at the time. With back-to-school sales, I am confident they will go on sale again for all the dorm crowd. I focused on one with clear pockets so I could easily tell which calculator was missing and which number it was. (Fun side lesson: I had classes with 25 students, but obviously it isn't possible to find a shoe rack with 25 slots since it would ignore the pairing convention shoes tend to have; hence, I chose the 24-slot/12-pair configuration)

The shoe rack itself is intended to go over the top of a closet door, as seen by the metal tabs at the top edge of it.  To hang this in my classroom, I used pliers to bend those tabs as straight as possible and re-bend them narrow enough to "hug" the small gap behind my dry erase board and the cinder block wall behind it.  In the past, I have also hung this rack on a full-length closet door in my classroom with no issues.

The more popular aspect of this project seems to be how I made the digital-looking numbers for labels.  Refusing to PAY for custom labels, I created a template out of an old cardboard box and used a Sharpie to customize whatever numbers I needed applied.  This venture was well worth my time and effort.  Here are the steps I took to create those numbers. 
Picture
What you'll need:
  • Flat piece of cardboard--I recommend a cereal box, cracker box, or similar thickness; definitely NOT corrugated cardboard (thinner cardboard, but sturdy enough to hold its shape and not fold when trying to trace the actual number itself)
  • Razor blade(s), utility knife, or X-Acto Knife--to cut out the pieces which will allow creation of the "pills" that make up the numbers
  • Pencil--to draw your raw stencil of the number "pills"
  • Permanent marker--to actually color the cells of the number for your desired image

Mimic the digital pattern seen on most alarm clocks on the cardboard.  This gave me good practice at construction of parallel lines, forming the top and side edges of my "digits."
   The picture at left shows my pattern.  I first drew it in pencil to allow for editing, then outlined the final edges I was to use in black permanent marker (also to make it show up better in the photo).


Use a utility knife to cut out the edges of the pills you want removed to create your stencil.
   HINT: Use caution on the thin pieces between one pill and the other.  They tend to be pretty sensitive and can easily tear one into the other section, nullifying all your efforts to make the cool, digital look.
   HINT TWO: Make sure to do your cutting on some sort of cutting board or protected surface, to prevent gouging into surfaces you shouldn't be gouging. Your significant other will appreciate you took the time in doing so.

Now that your stencil is complete, try it out.

Final suggestions:
  • Use low-adhesive masking tape to hold the stencil in place.
  • Trim excess cardboard around your stenciled part to minimize its "cardboard footprint." Sorry, green puns are tough.
  • I only did a 2-digit stencil to help with alignment, because I knew the extent of where I would be using it. Larger numbers can be created by repeatedly stenciling and moving the pattern to the next location. The photo at left shows how I labeled my can of coffee using my stencil.

Hope you found this project interesting and unique. It sure guaranteed I ended up with labels that were uniform and much easier on the eyes than my handwriting can be on some days.

--Keltner--

 
Picture
Originally, I began constructing my own NCAA brackets because I disliked the gratuitous advertising that took place on the copies available through different media outlets, as well as the NCAA itself. So, while I'm probably violating just a smidge of copyright infractions by using their logos, I'm not promoting gambling in my classes by "making predictions" about games' outcomes, nor am I promoting the latest multi-million dollar movie Michael Bay is releasing as a result of the ad banner appearing on a network's copy of the bracket.

I'm going to include more details on how I pulled off this display once my daughters go to sleep.  Could be around Thanksgiving, at the rate they're going.

 
Picture
Back-to-school sales are fun.  Last year, I picked up FAR too many pencils to be used in a school year because of their low, low prices.

I have been following George Hart's creations for a while and am excited for the opening of the Museum of Mathematics later this year. This particular construction was based on Hart's work entitled "72 Pencils." Thanks to friend Pat Flynn for use of his photo at left.

As part of a visual example involving recursive functions (showing how one thing relies on another previous value), I created several cousins of Hart's design, using some accumulated pencils I had in my classroom from over-anticipating students needing to borrow them. They are shown in this short YouTube video I created:

Obviously, my construction are held together with rubber bands.  The disclaimer I would place on this project is that--to avoid bands snapping and the ensuing pencil grenade that would scatter itself about your space--you inspect your bands from time to time.  Put on a new band and remove the old, as needed.


As far as difficulty in completing this project, I would emphasize this project requires patience more than it requires skill.  Band together enough pencils to satisfy one "axis" of the construction and begin creating another "axis" by inserting pencils through it, intersecting with the appropriate number of pencils between opposing axes.

Good luck.  Please comment and let me know what you think.

--Keltner--
 
Picture
In my younger days, I had a summer job at a heating/air-conditioning/plumbing/electric/lumberyard/hardware store [link to their Facebook page] and learned a lot of trades (I think my forklift operator's license is still valid, come to think of it). One physical thing I came away with was the frame for this clock, which the owners let me have since it was an OLD light advertisement for GE Light Bulbs that they had picked up at an estate sale many years prior.

Years later, I scored a summer job with a sign company (using my forklift operating prowess to become a crane operator) and learned a few tricks of that trade that helped in creating numerous displays and handouts for my classes. I used a plexiglass surface to allow expressions to be changed, depending on the unit your class is covering.

Here's the shopping list of things I used for this project:
  • [Existing] Fluorescent light cabinet (similar fixtures are available at Home Depot for a little help) with a dry erase marker-friendly surface--fluorescent light because it has a cooler effect, in a temperature aspect and visual aspect
  • [In lieu of fluorescent light fixture] Hard surface, still dry erase marker-friendly--I would suggest something at least 1 ft. by 1 ft. to make it visible from further away than just a couple of feet, but not big enough to distract passersby on a nearby street. The melamine dry erase boards that other #Made4Math people have talked about constructing would seem to work fine, but would be nonrefundable since this project requires a hole to be drilled in its center.
  • Clock kit with battery power source (available on Amazon for less than $10, usually)--at hobby stores, different clock hand designs are available that look less decorative and in alternate colors. I suggested a clock kit with battery power so that unplugging the light does not disable the timekeeping component of the figure.
  • A protractor to help manually mark out the hour markings on the clock face, allowing enough room outside to scribe the expression you want to represent that particular hour.

That's it! Inexpensive, super fun to put together.  It is amazing the amount of foot traffic that finds its way past my classroom now so students can explain to one another why a particular expression is in place of a certain hour.  Call it reverse engineering, of sorts, since they already know the answer but need to figure out how we get there.

I hope you enjoy this project as much as I did.  Let me know in the comments.

--Keltner--